


A step-by-step photographic guide of how to make skillet-fried chicken.

In honor of #NationalFriedChickenDay (there’s a food holiday for everything), I present you with this comprehensive guide on how to make fried chicken. I even created another GIF for you! This is an update to one of my very first posts for a basic fried chicken recipe that I first shared over FIVE years ago. I’ve shared a couple of variations over the years, but this aims to be your go-to manual for how to fry chicken.
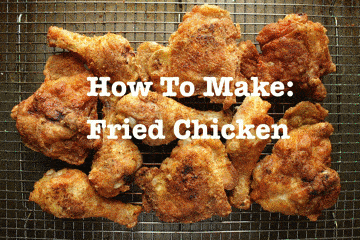
How to Make Southern-Style Skillet-Fried Chicken
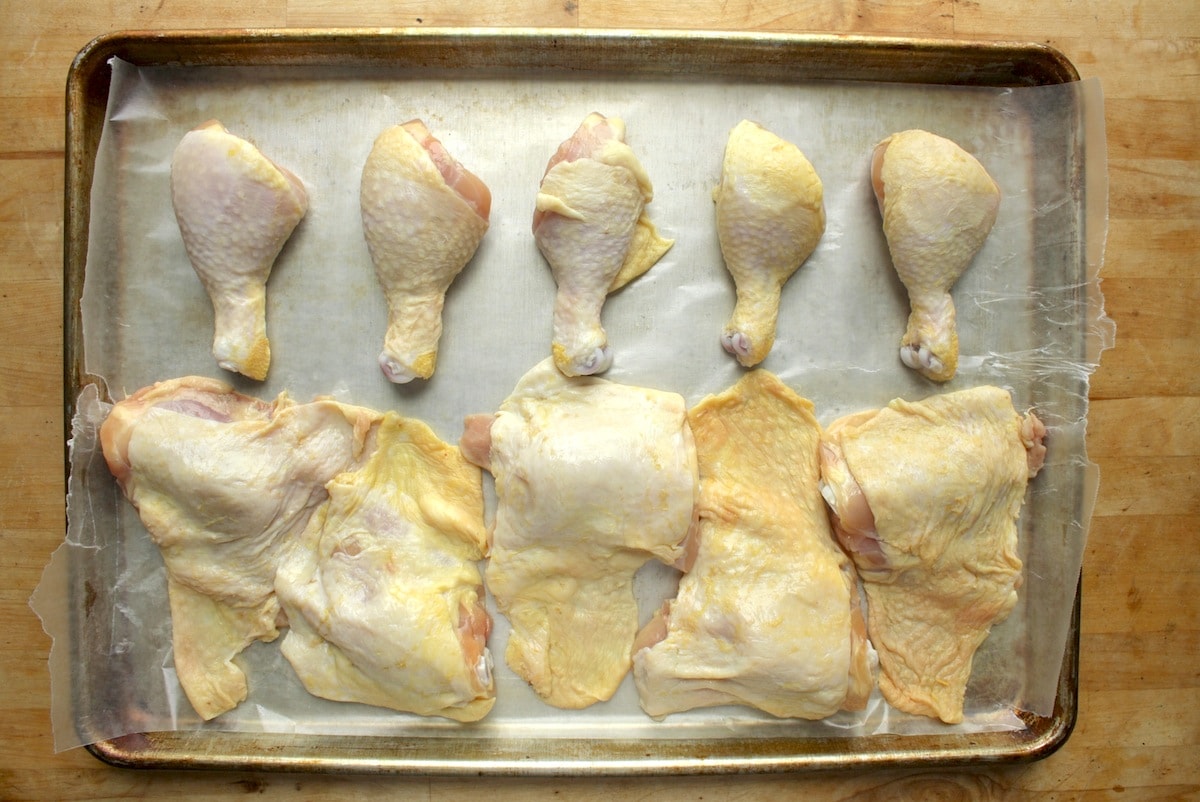
1. It of course all starts with the chicken. I tend to stick with dark meat these days because I find it more flavorful, but you can use whatever cuts you like.
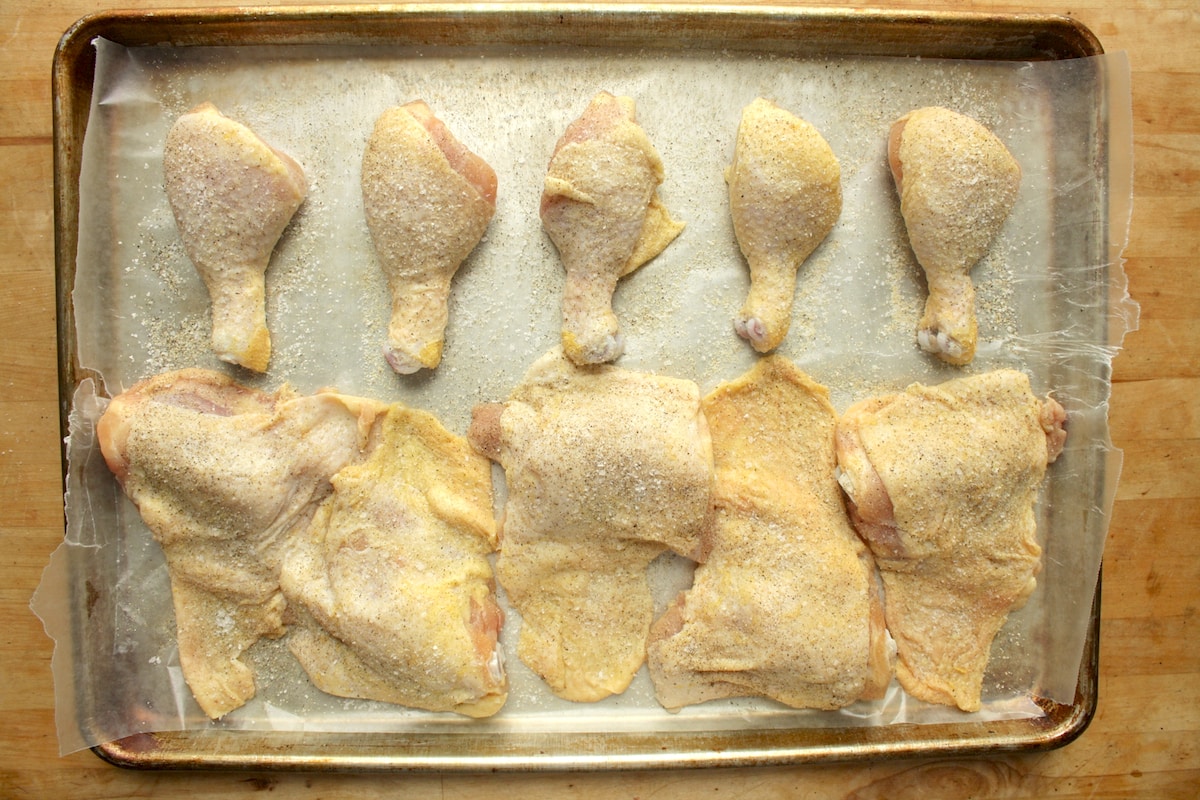
2. Now it’s time to season! The basic chicken spices that I always include are kosher salt, black pepper, and garlic powder. You can stop there (as I did for this post), or you can personalize with other herbs and spices. I usually include paprika and cayenne, but some others you can try are onion powder, mustard powder, chili powder, and cumin. Be sure to generously sprinkle all sides of the chicken so that it is full of flavor.
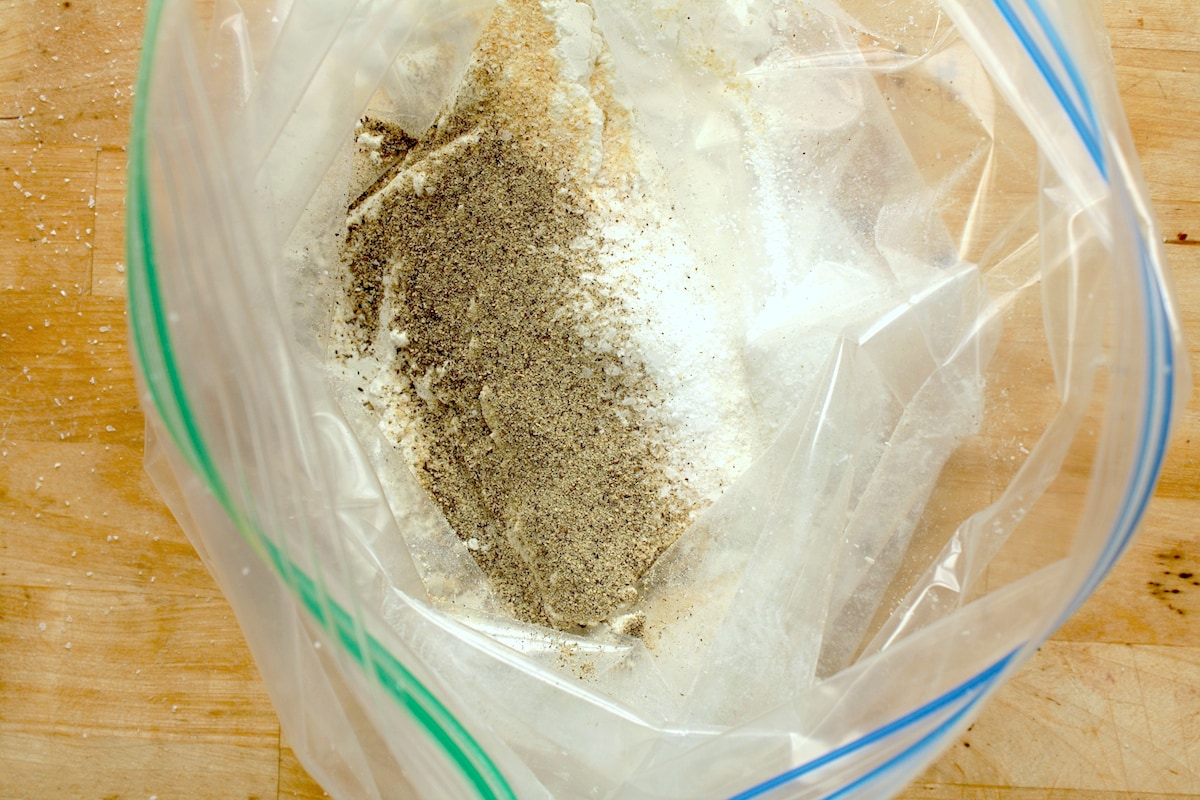
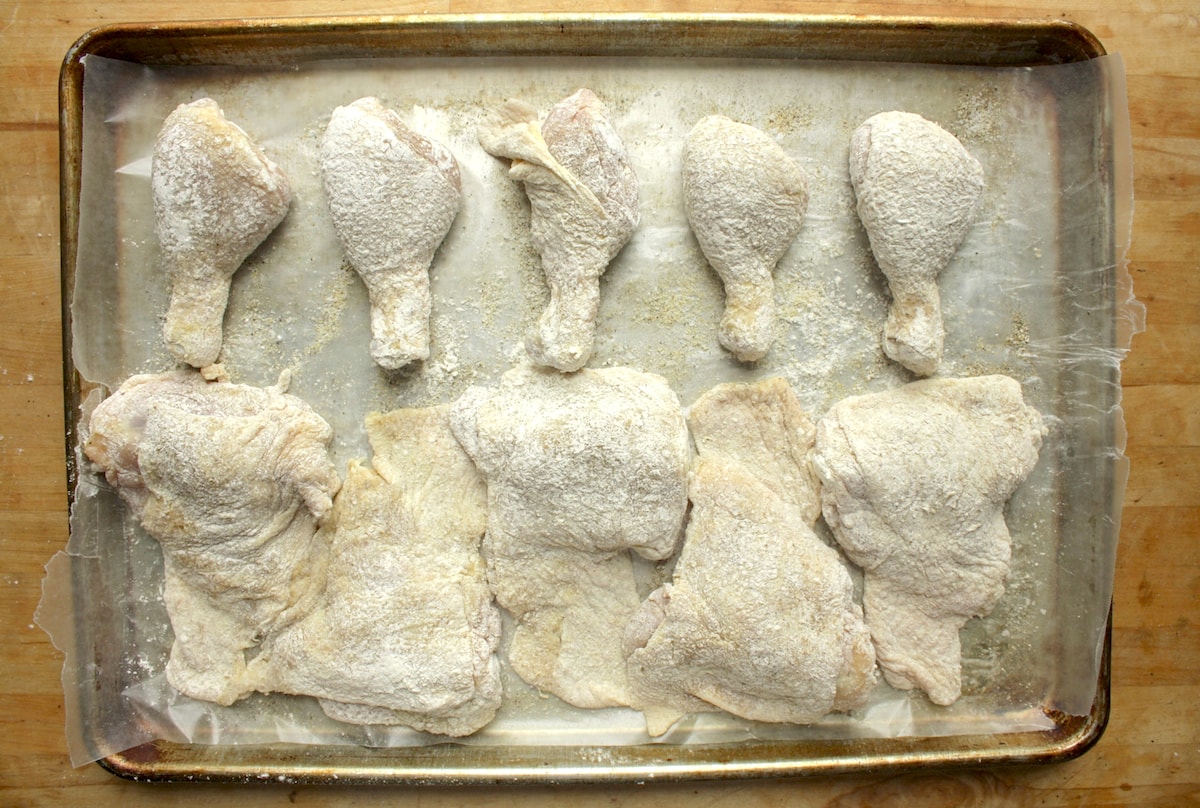
3. Speaking of flavor, it’s also a good idea to season the flour you’ll be dredging the chicken in. Just use all of the same spices you put on the pieces of chicken and give it a good mix. I always just eyeball it to the point where you can see a good distribution of various spices in the flour.
4. Coat the chicken in the seasoned flour a few pieces at a time, making sure that they’re completely coated. You can do this by shaking them in a bag (like above) or tossing them in a dish with the seasoned flour (I like to give it a good squeeze to make sure the flour is really all up in there). Shaking off any excess flour and then repeat with the remaining pieces until they’re all coated. It’s great to let the dredged chicken sit for a few minutes to help the coating adhere to the meat while the oil heats up.
5. You want about 1/2 inch of oil (i.e. corn, canola, vegetable, or peanut) in a heavy-bottomed pan over medium-low heat. (Pro tip: You can also use bacon fat in place of some or all of the oil for extra flavor.) Though a cast-iron skillet is ideal for frying chicken, I have a confession to make: I don’t actually own one. I know, I know…it’s definitely on my list, but I’m low on space and already have to store some of my equipment in my bedroom. (Thank you, New York City apartments.) [Update: I now own multiple cast iron skillets.]
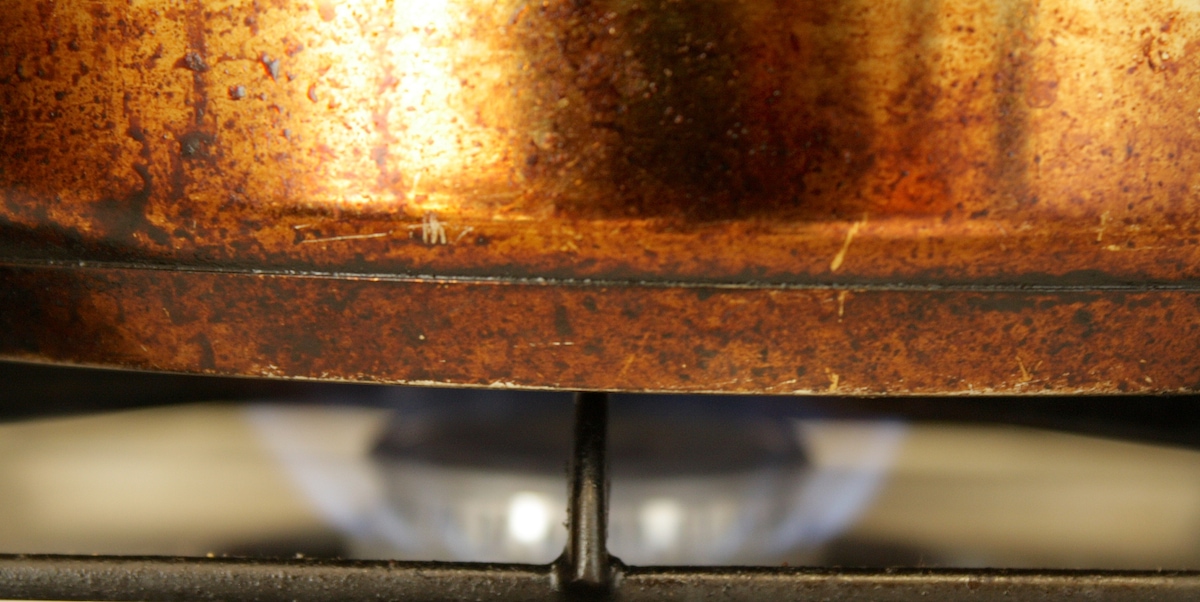
6. You can check that the oil is ready by flicking some flour into the pan and looking for a moderate sizzle. If it goes crazy, then it means that the oil is too hot; if nothing happens, then it’s too cold. For those with a thermometer, it should be around 325˚F, which I find is the perfect temperature to cook the chicken all the way through without risk of burning the outside. Carefully add the chicken parts to the oil, skin-side down and a few at time so as not to crowd the pan, and cook until golden brown on the first side, 7 to 10 minutes.
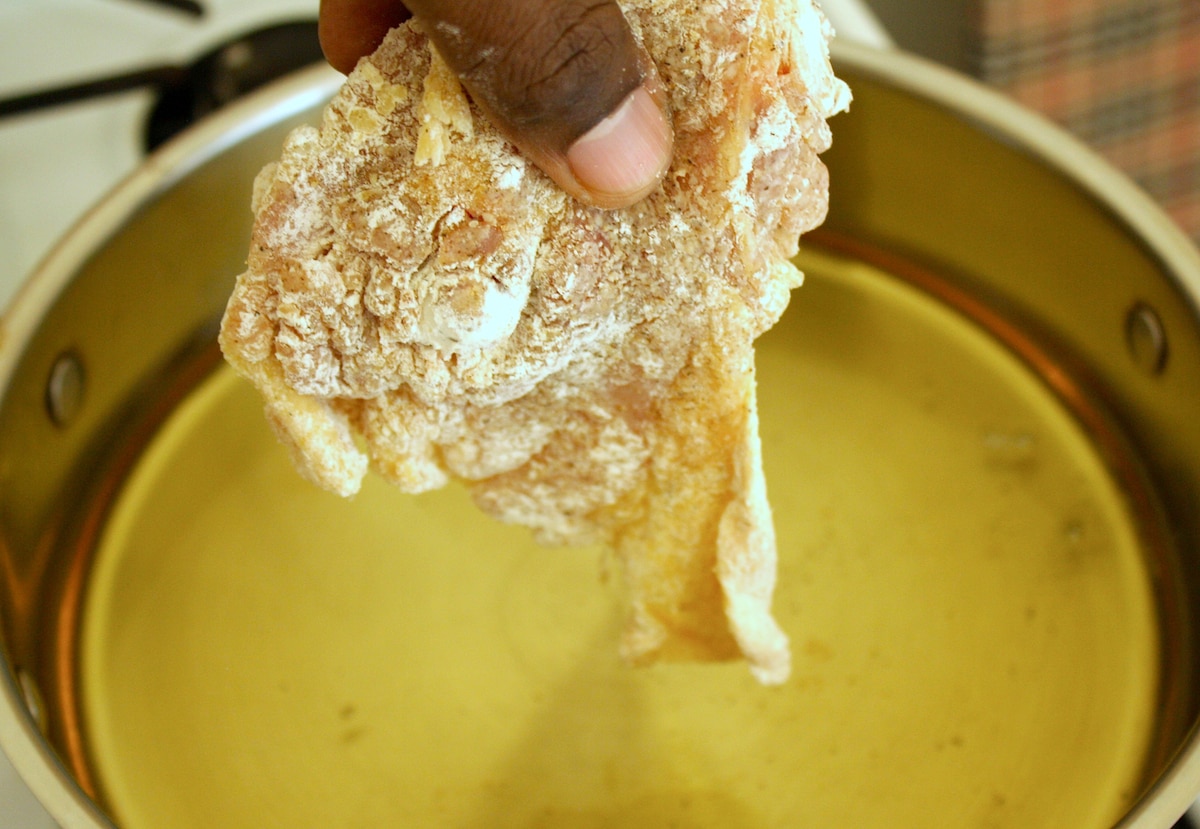
7. Flip over and continue frying until the chicken is golden brown on the other side, 7 to 10 minutes more. (It may take a few extra minutes for large breast pieces.) I usually have a pretty good sixth sense of when the chicken is done, but if you’re particularly worried about the doneness of the chicken, an instant-read thermometer inserted into the thickest part should register 165˚F.
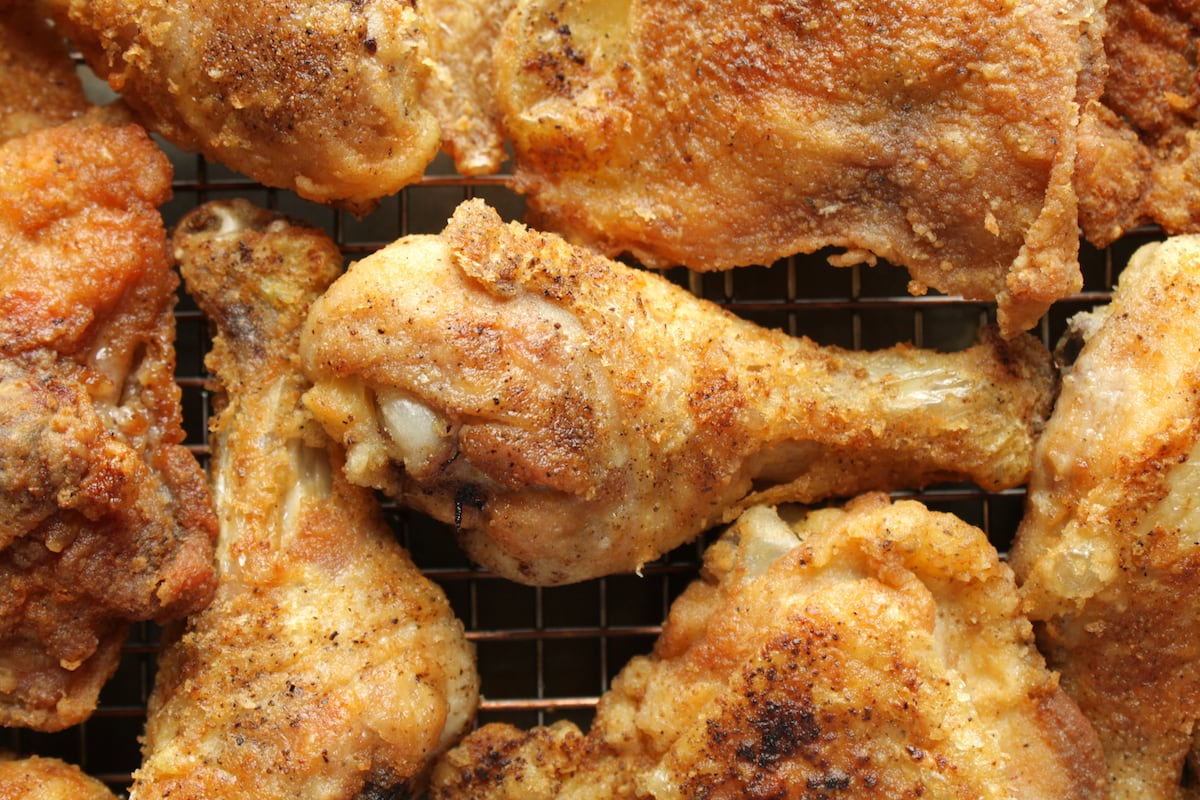
8. Put the perfectly fried, golden brown chicken on a wire rack to drain. (A platter lined with paper towels will also work.)
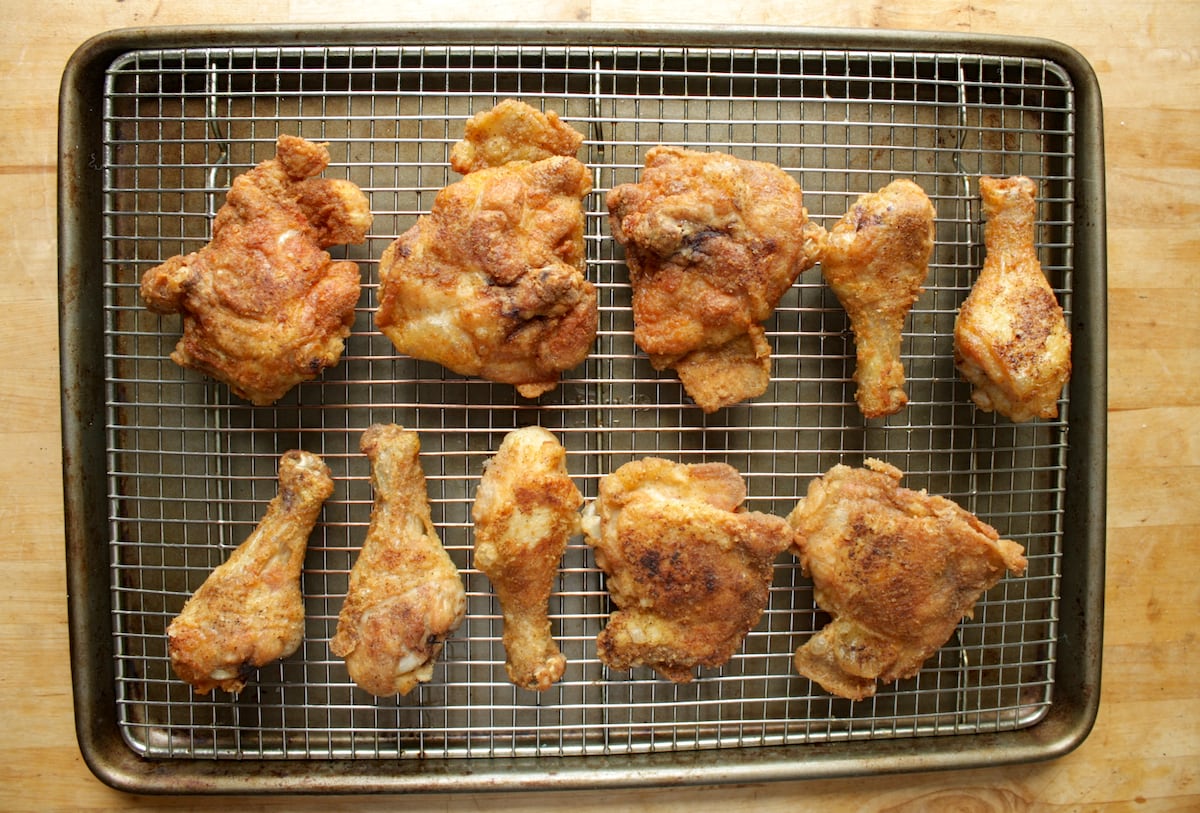
9. Repeat with the remaining chicken (I like to give it another trip through the seasoned flour before it hits the oil). Then it’s time to eat! Fried chicken goes great with just about anything, but a classic Southern meal is to pair it with baked macaroni and cheese and collard greens.
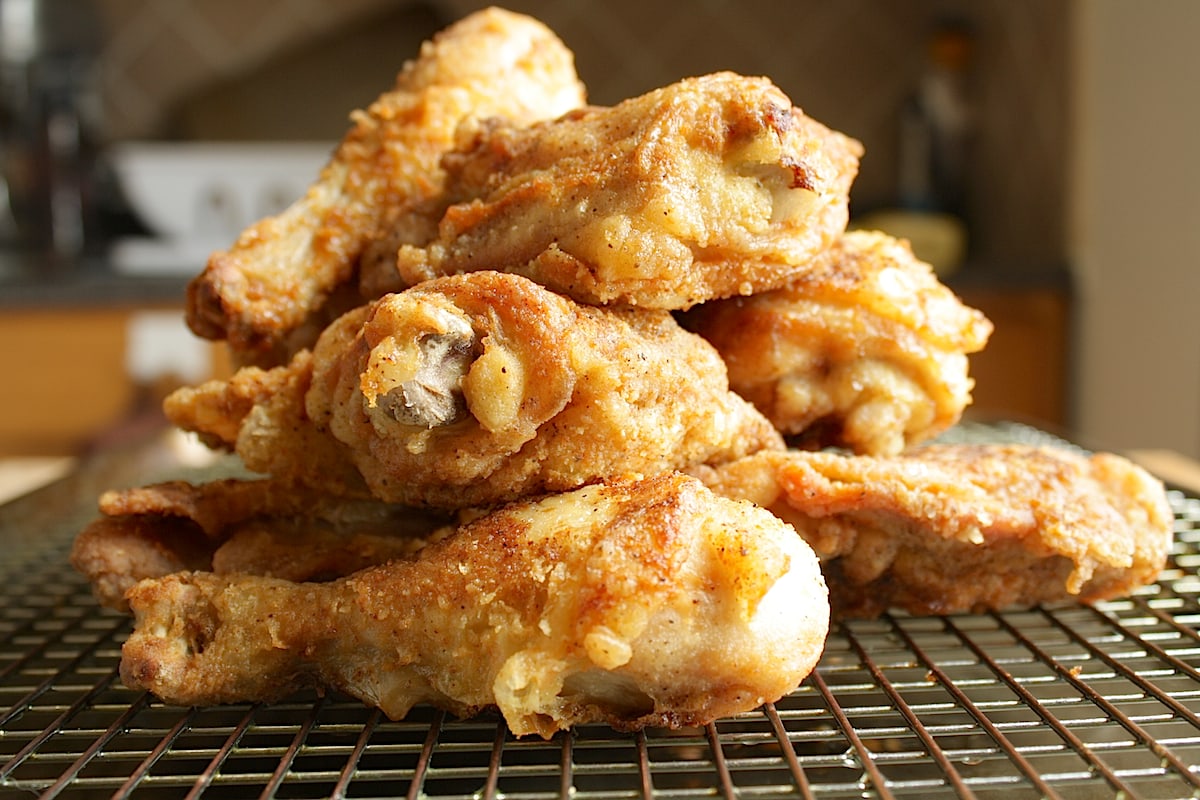
The end.
Hey Aaron,
As promised I have returned to the South and have already began sharing the blog with family and friends. The first article I read was the piece you did on fried chicken. Very simplistic, but simply delectable. I am almost ashamed to say, but the 2 things I’ve struggled cooking are 2 of my favorites, Pancakes and Fried chicken. I know EVERYTHING “Depends”, but for the frying handicapped, can you please put a time estimation on recipes that are not “Greg-Proof”. Thanks!!
It really does depend, but I’ve gone ahead and added some time estimates. Thanks for sharing!
omg this looks so good. really appreciate all your recipes! it’s like hanging out with a gramma learning to cook (and that is no reflection on your appearance!! hahaha!)
Haha! Thanks!